Showing posts with label Vintage and antiques. Show all posts

Thursday, January 2, 2014

A unique wedding gift for the vintage loving couple

Instead of buying a couple another toaster or towels or something ordinary as a wedding gift, consider buying them a view master.  People my age will immediately know what that is.  But for you young folks, a view master is a stereoscope through which photographs on circular disks are viewed through the two lenses.  As you press the button on the side of the view master, the photographs rotate around.  For children, disks were made with pictures of fairy tales. 

I currently have a vintage view master in my Etsy shop.  The view master is in its original box and is one of the older bakelite models made by Sawyer's in the 50s.  Included with the view master are the following disks:

Cinderella
The Ugly Duckling
Goldilocks & the Three Bears
Little Red Riding Hood
Hansel & Gretel
Indian Tribal Ceremonial
Hawaii The 50th State - Waikiki & Island of Kaual
Hawaii The 50th State - Islands of Hawaii & Maui
Hawaii The 50th State - Honolulu & Oahu

Vintage Sawyer's view master stereoscope
Sawyers bakelite view master stereoscope
At this point, I'm sure you're wondering why a couple would want a view master as a wedding gift.  Well thanks to Pinterest, I discovered that there are a couple of companies which will create disks from photographs for the view master.  Of course, they sell their own view masters, but I believe that their disks will also work on the original view masters.  And for the vintage loving couple, a vintage view master with a disk of their engagement and/or wedding pictures will be an original and very thoughtful gift.  The two companies are Image3D and Studio3D.  Disks can be made from regular photographs but if you give the couple a view master sooner rather than later, they can have their photographer take shots to create a 3-D effect.  Take a look at the websites for information on how this works.
Read more ...

Wednesday, August 7, 2013

Fenton Charleton glassware

I loved Fenton glassware long before QVC made it a household name.  Members of my family have been collectors for many, many years.  However, I really had not paid much attention to some of the historical aspects of the glassware until recently when I spotted a vase at a flea market which looked like Fenton but was painted differently than anything I had previously seen. I bought it, because the price was right.
When I got home, I started researching to see if I could find a similar piece.  I was fortunate to find one that had sold on ebay which led me to the discovery that Fenton had supplied blanks in the 1940s and 50s to another company – Abels, Wasserberg & Co.  AWCO, in turn, handpainted the pieces supplied by Fenton and called this their “Charleton” line.
There’s a super website which has pictures of many Fenton pieces which were handpainted by AWCO.  The site also has a book available for purchase for anyone wanting to know more about the Charleton line.
This is the vase that I found at the flea market.  I am selling it in my Etsy shop.  The design on the vase is called Magenta Leaves and has gold highlights.
 Image
Just recently, I found another Fenton piece that I’m sure is part of AWCO’s Charleton line.  It is also for sale in my Etsy shop.  It's a lovely cranberry coin dot cruet and has gold highlights as well as pink flowers.
 Image
I have another Fenton piece in my shop that I think might be Charleton, although I’m less sure about it than I am about the other two pieces.
Image
Read more ...

Saturday, June 29, 2013

Using vintage linens in the nursery

Using vintage teddy bear lamp shade iin nursery

 I love vintage linens but don't like to stick them away in the drawer.  So, I love to repurpose them when and where I can.  The nursery for my great-nephew will include some repurposed vintage linens.

I was looking for a bear lampshade for the nursery, because I had bought a baseball lamp from an Etsy seller.  So, I was delighted to find another Etsy seller who specializes in making lampshades and even more delighted to see that she had a bear lampshade made from a vintage linen.  The shade was the perfect size and color for the lamp and for the nursery.  Some things are just meant to be.

My niece has a vintage wicker rocking chair that her grandmother gave her.  While it is perfect for the nursery, the cushions needed to be recovered or replaced.  So, I recovered the bottom cushion and made a new cushion for the chair back out of a vintage linen which was actually a dresser scarf.  I cut the scarf in half.  This side will be the front of the cushion - and notice the teddy bear.

Making a pillow out of vintage linen for nursery

And this side will be the back of the cushion.

Vintage linen pillow for nursery

Read more ...

Saturday, June 8, 2013

Soda crate table


I know it's been awhile since I last posted but it seems I never have enough time for everything I need and want to do.  Now, I'm occupied with decorating a nursery.  Before my niece was even engaged to be married, I had started collecting items for both a girl's and a boy's nursery, because she told me that I could decorate her baby's nursery.  So, I was really excited to hear that she and her husband were expecting their first baby in November.  Once they knew the baby would be a boy, I started all my nursery projects.
When I first began collecting items for a boy, I decided to go with a teddy bear theme.  The main reason for that was because I found the cutest baby quilt by an Etsy seller and knew I had to have it.  I have also added other bear items from Etsy sellers including a bear rug and a chenille bear.  These will be perfect in the nursery.
Image
Because my niece loves vintage, I am able to add some vintage to the nursery.  One of my projects is a table made with a soda crate.  I also plan to hang an old crate on the wall as a shelf.
For this project, I needed a crate - which I already had - and a table with a top which was roughly the same size as the crate.  I found a cheap one at a flea market.
Image
Image
As I'm using a lot of primary colors in the nursery - red, blue, yellow - I wanted to paint the table base in blue.  I decided not to paint the top of the table since it would be attached to the crate, so I taped off the top.
Image
I bought a blue spray paint and painted the table in my garage, which turned out to be a bit of a mess.  My garage was covered in blue dust when I finished.
Image
Image
After I had let the paint dry, it was time to attach the crate to the tabletop.  I decided to glue it on, because I didn't want to bother with a drill and screws.  I used Liquid Nails and put some on the bottom of the crate.
Image
Then I turned the table upside down and centered it on the crate.  It was much easier to do it this way than to try to center the crate on the table when it was right side up.
Image
I put some weights on it to hold it in place while the glue dried.  Once the glue was finished drying, I turned the table right side up.  Because the bottom of the crate on the inside was in rough shape, I bought a cheap plastic place mat and trimmed it down to fit the inside.
Image
Image
Read more ...

Sunday, November 18, 2012

Rewiring a vintage floor lamp

I couldn't resist buying this antique floor lamp when I saw it. I had never seen one like it before, with what looks to me like mercury glass, although the sign on it said it was depression glass.


However, the lamp didn't work when I put in some bulbs, and I knew that it needed to be rewired anyway. So, I decided to take on the task of rewiring myself. The first thing I did was to buy two new sockets and a very long cord.


I actually unscrewed the top pieces and took everything off the rod that runs the entire length of the lamp base. However, I wouldn't have had to remove everything as it turned out. One of the biggest challenges was when I tried to feed the cord through the rod. It keep getting caught on itself or on something in the rod and wouldn't feed through on its own. I had read that you can use a Fish Tape, which is a tool electricians use, but I didn't want to buy that for one use only. So, I came up with a solution using floral wire. I had some 22-gauge pieces, so I taped two together with electrical tape and taped the end of this to the end of the cord. It was very easy to feed the cord through that way.


Once I had the cord through, I cut two short pieces of cord from another piece. I kept the old wiring so that I would know how to wire the new sockets and lamp.


I cut the outside plastic off at each end of the two pieces after splitting the cord apart for about an inch at each end. I used scissors to remove the plastic but was very careful. You can use a wire stripper but that was another tool I didn't have and didn't want to buy.


The next step was to take the two pieces of wire and wrap the ends of each around the two screws on each lamp socket. I took the lamp socket apart to do this. The wire wraps counterclockwise and then the screws are tightened and the lamp sockets are put back together.


I ended up having to replace the two-light cluster head that holds the sockets, because the one on the lamp was so old and rusted I couldn't remove one of the old sockets from it. I had to order the cluster head from Historic House Parts.


Then, I connected all the wires and wrapped them with electrical tape. Again, I referred to the old wiring to know the correct way to connect the wires.


I was happy to see that the lamp actually worked when I turned it on. And here's a picture of my finished lamp.

Read more ...

Sunday, October 21, 2012

Embracing the Present

"Embracing the Present" is the name of my new Etsy shop. I wanted something that would tie in with my vintage shop "Touching the Past." My new shop will feature items I make, such as button bracelets and brooch bouquets. I had forgotten how hard it is to fill a shop, and I am slowly adding items.

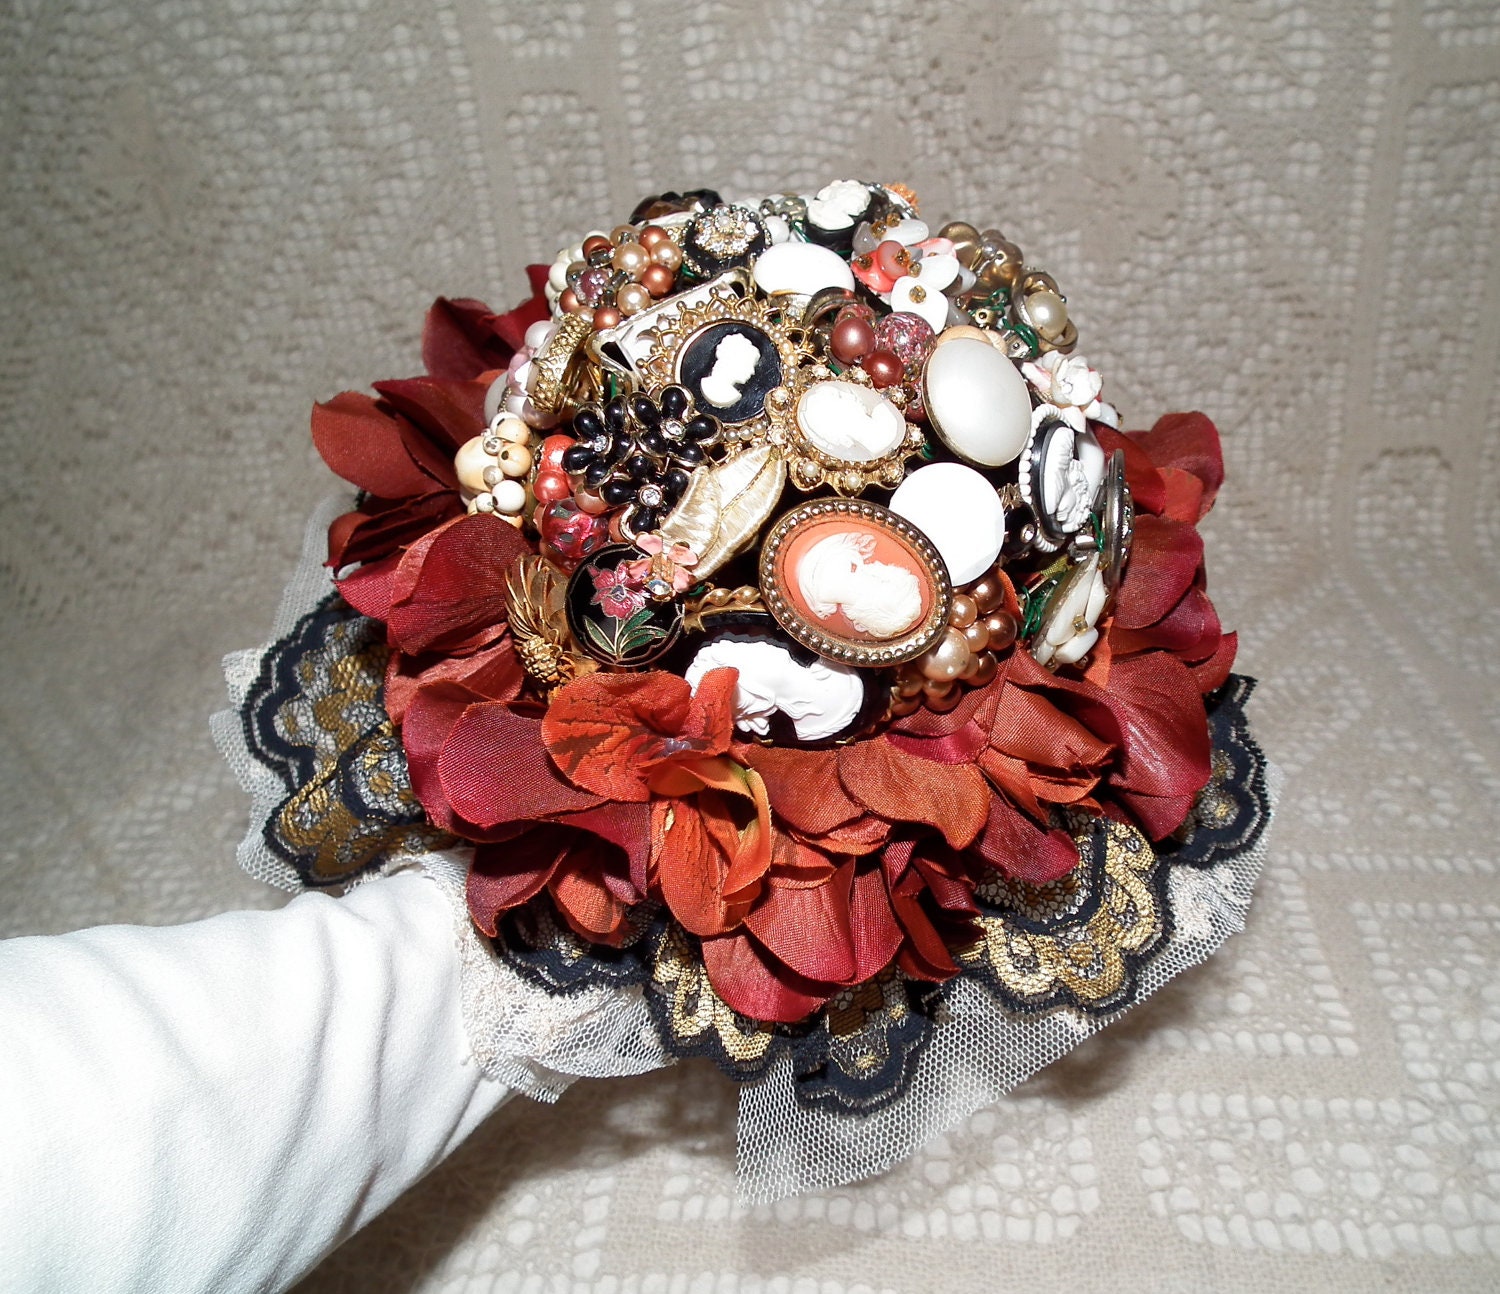
I wanted to show some of what I have so far in the shop. I have several wedding brooch bouquets available and am going to add more. These will be ready-made as I don't have the time right now to do custom requests. I have a cameo brooch bouquet for the bride who wants a victorian wedding.

Cameo brooch bouquet

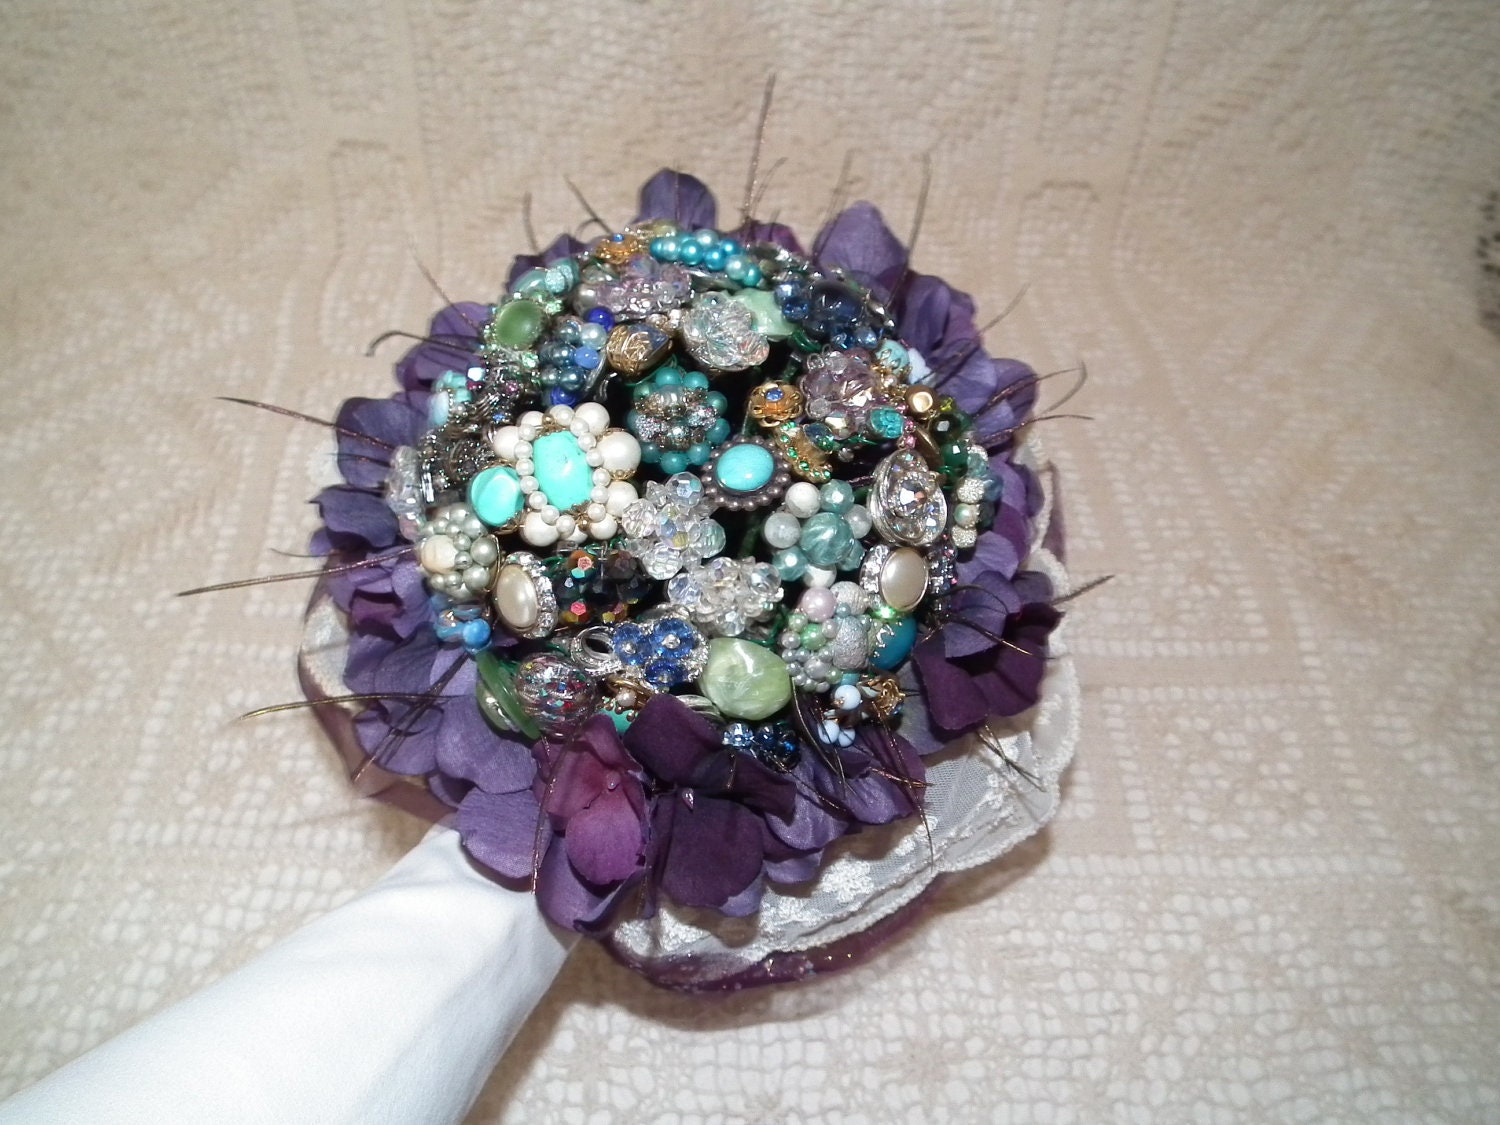
There is a peacock brooch bouquet. This seems to be a really popular theme in weddings these days.

Peacock brooch bouquet

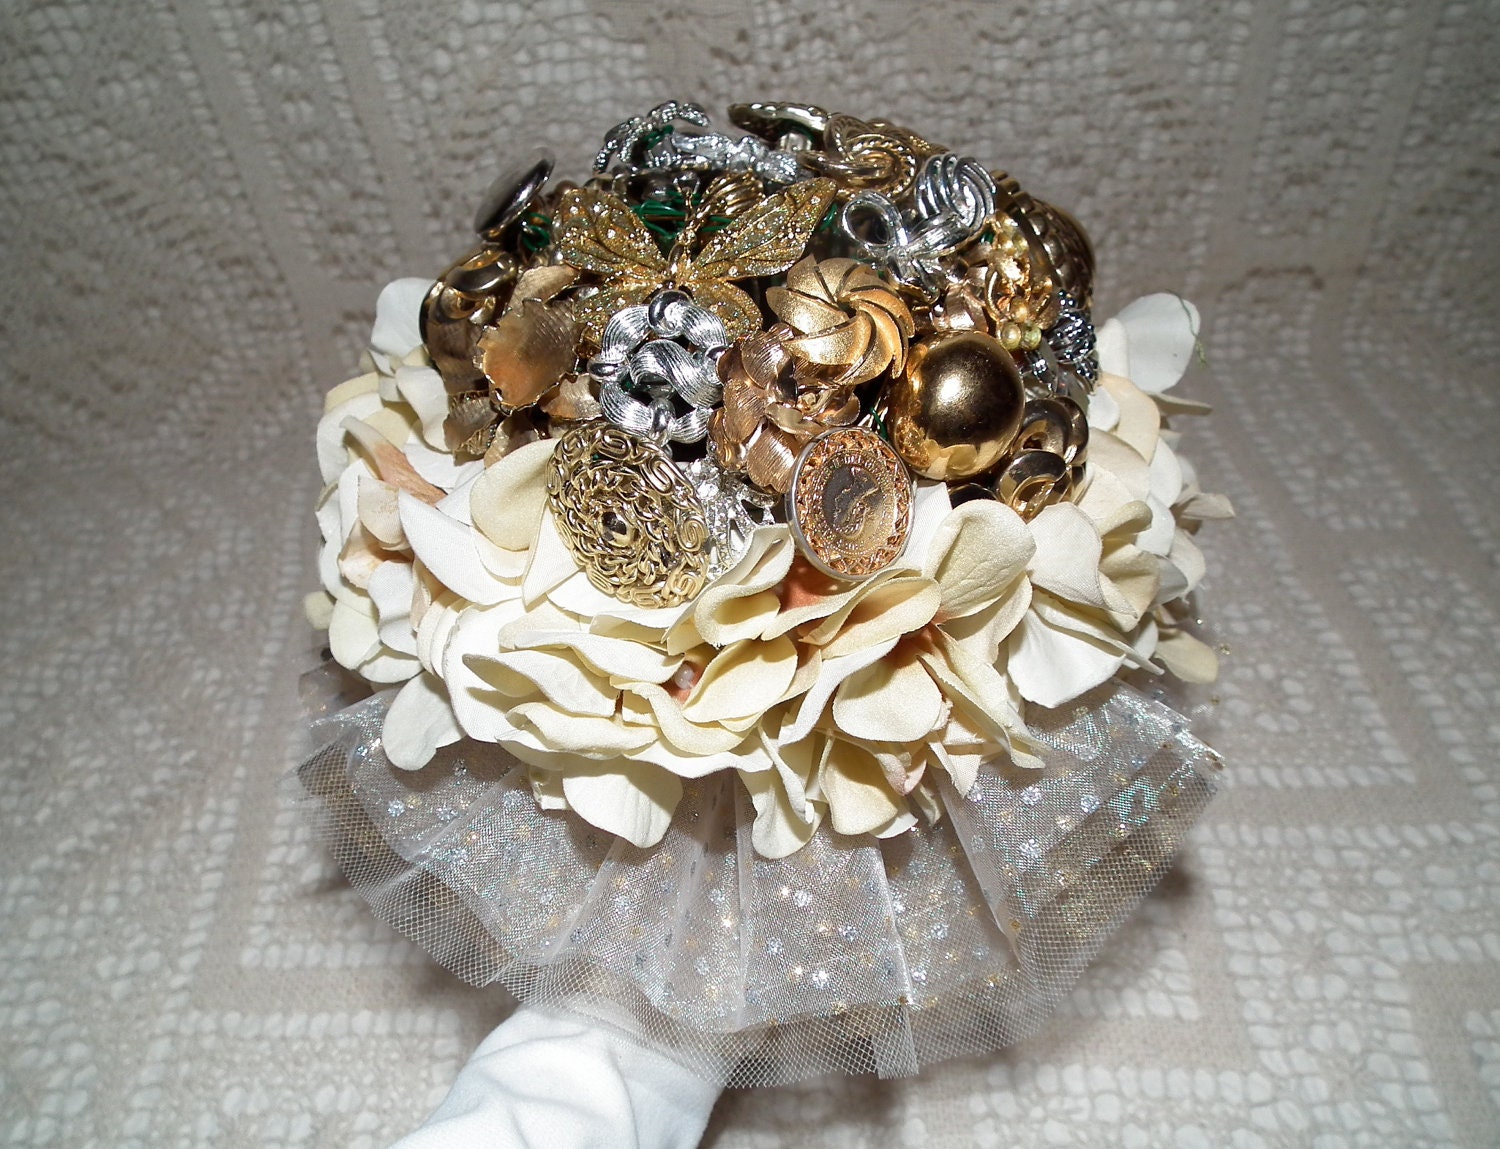
And my most recent brooch bouquet is in metallic colors. It has gold and silver jewelry and there is a touch of copper in the middle of the hydrangeas at the base. Martha Stewart has some wonderful ideas of how to use copper, gold and silver as the colors for a wedding here.

Metallic brooch bouquet

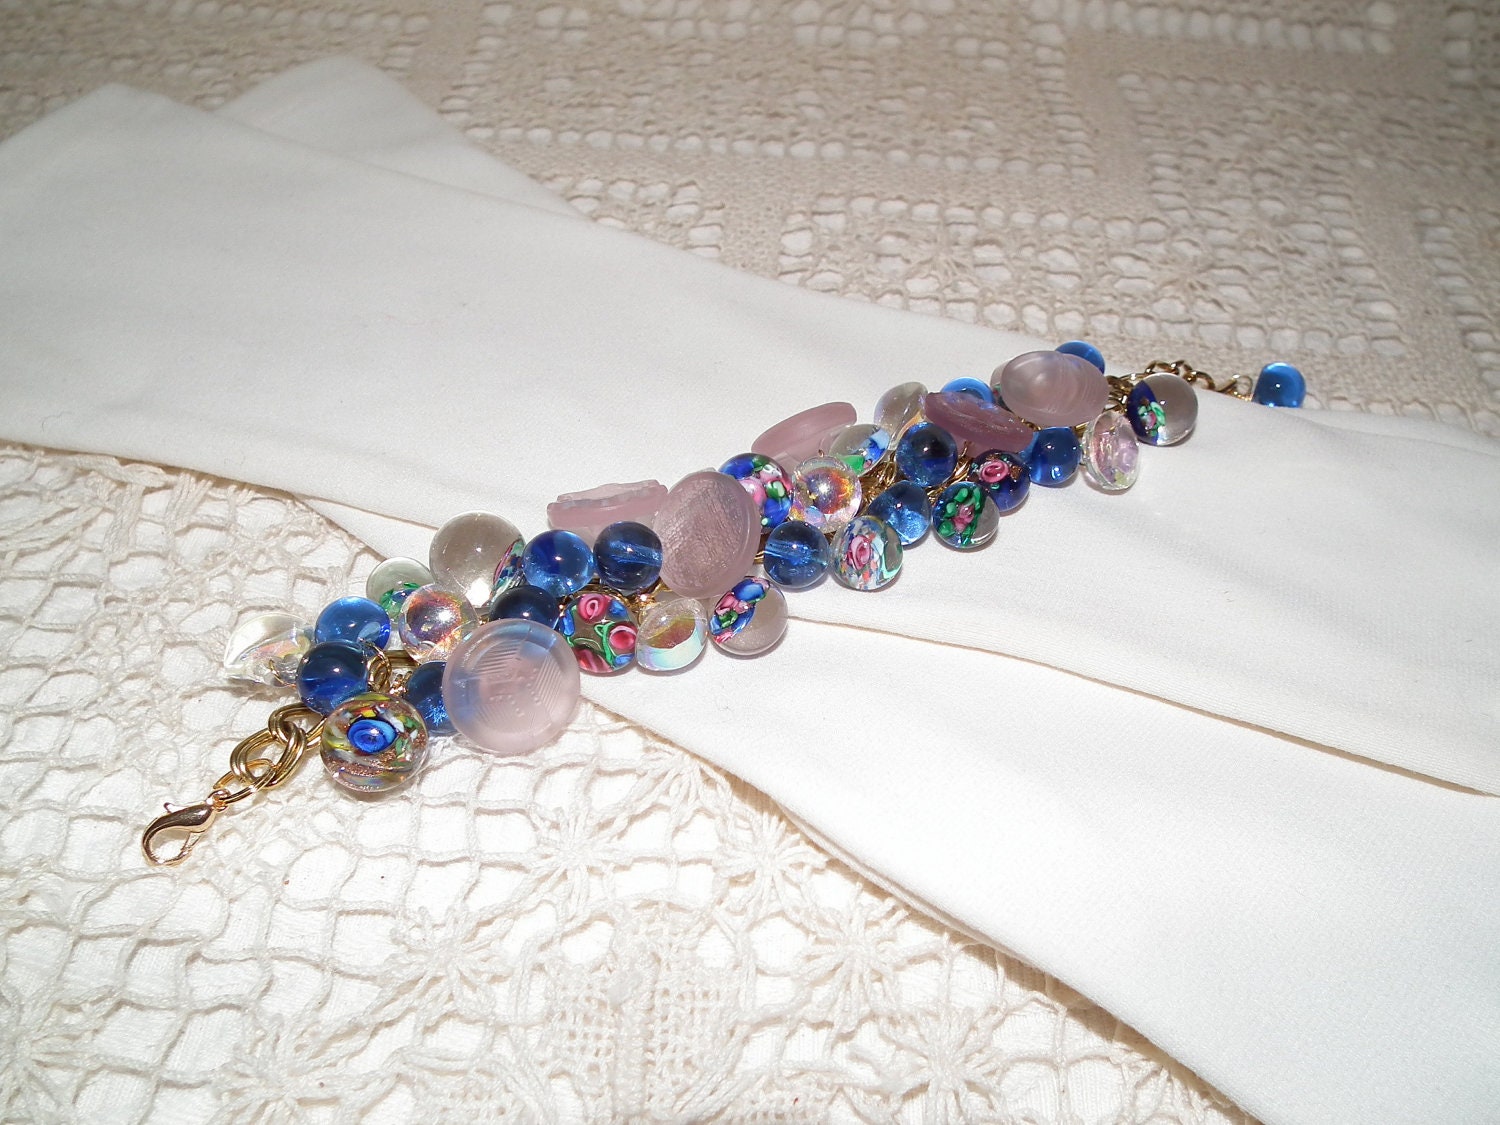
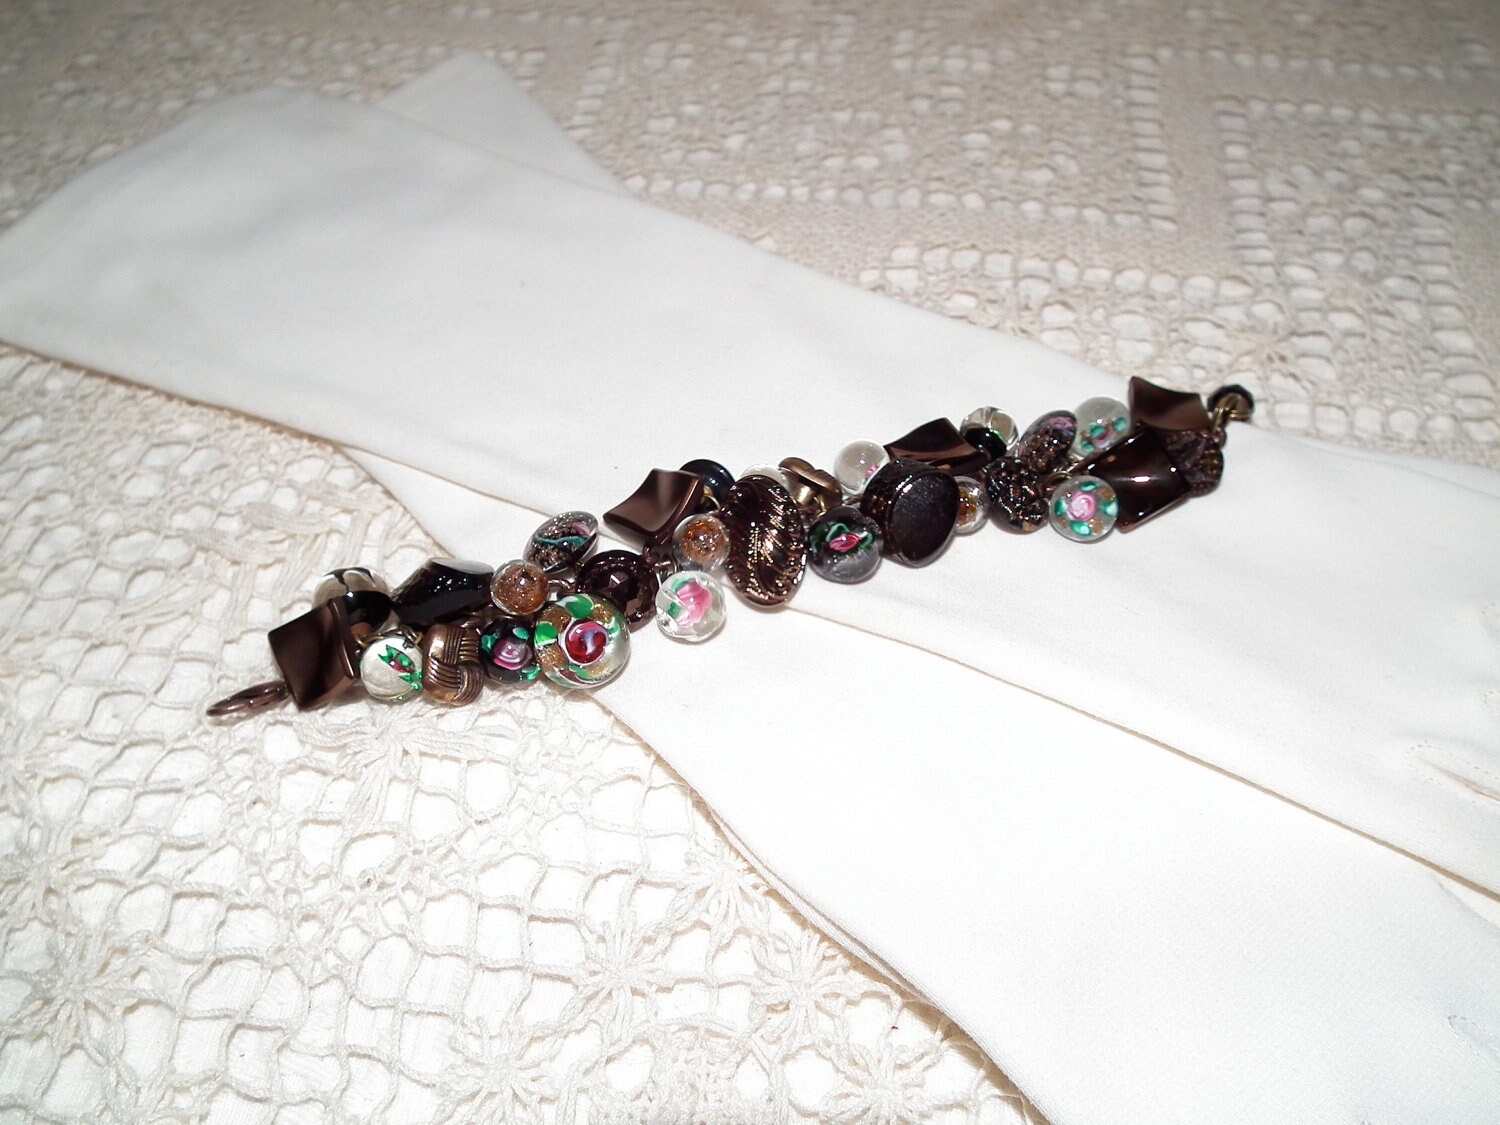
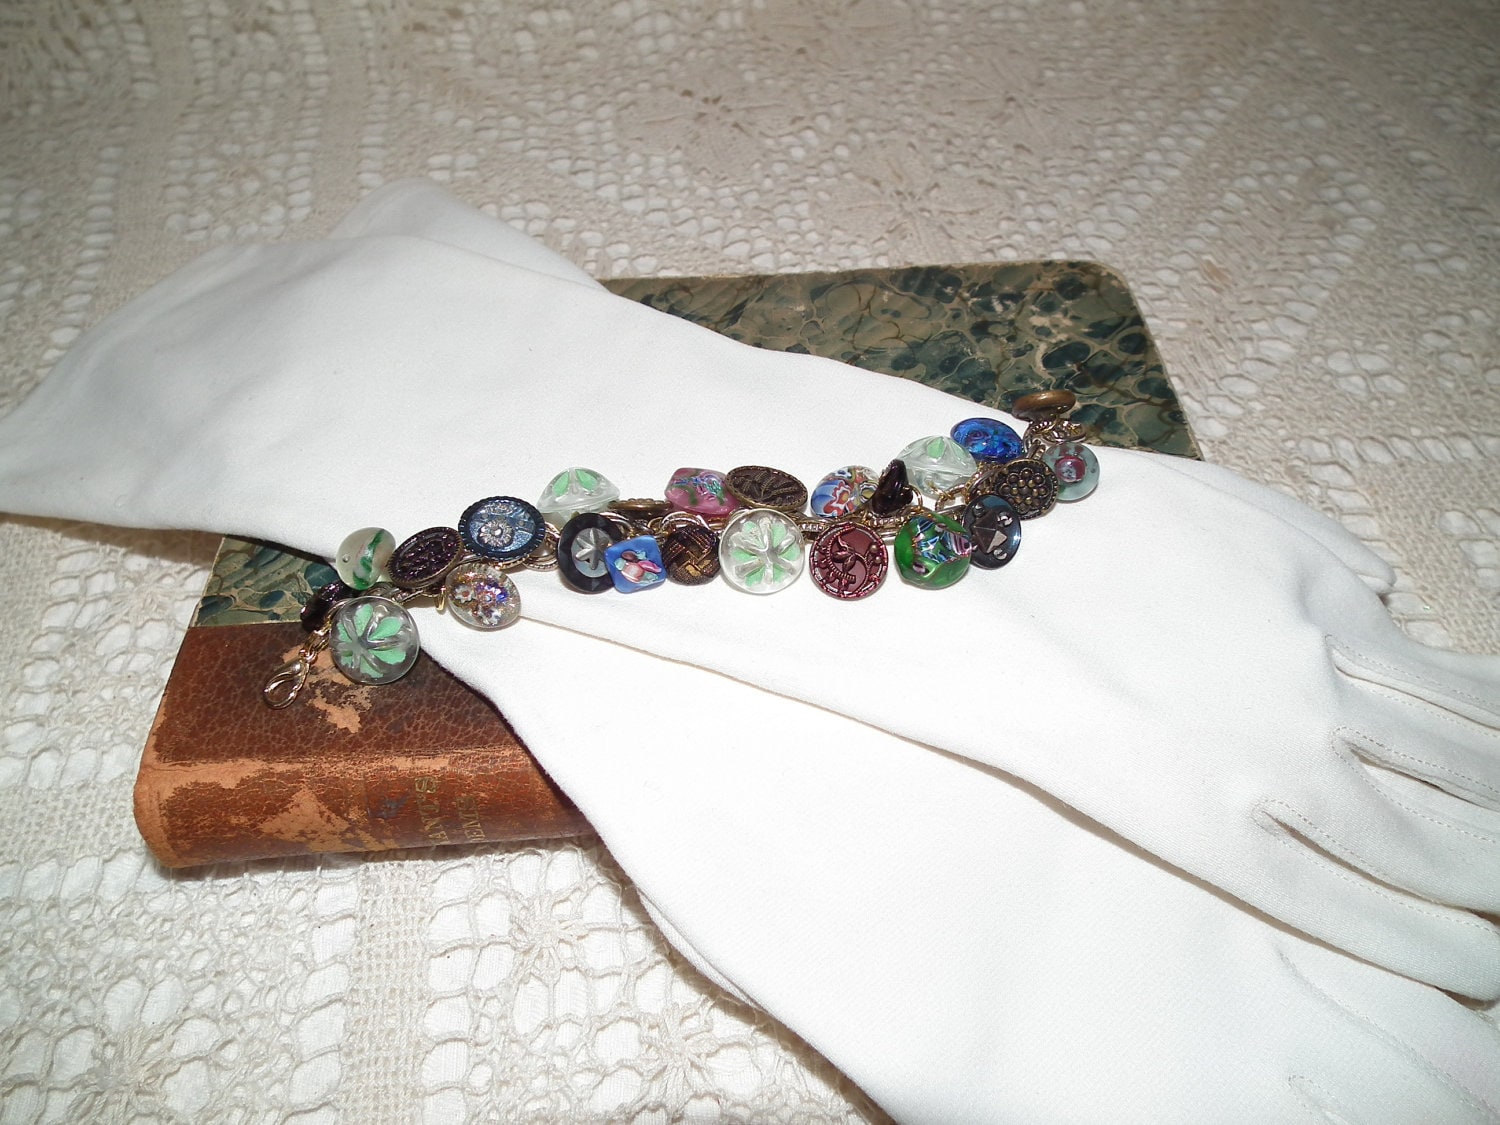
I've also added a number of button bracelets made from vintage buttons. Right now, I have several which were made to highlight some glass paperweight buttons I have. I love all vintage buttons but paperweight buttons have to be my favorites. They look just like miniature paperweights and are amazing in detail and artistry. If you're interested in finding out more about them and their history, this site is a good resource. Most of the paperweight buttons I have used have a flower in middle, usually a pink one. These are the bracelets I've made from them:

Paperweight button bracelet

Paperweight button bracelet

Paperweight button bracelet

I hope you'll stop by to visit and to see additions to my new shop.
Read more ...

Monday, September 24, 2012

Repurposing

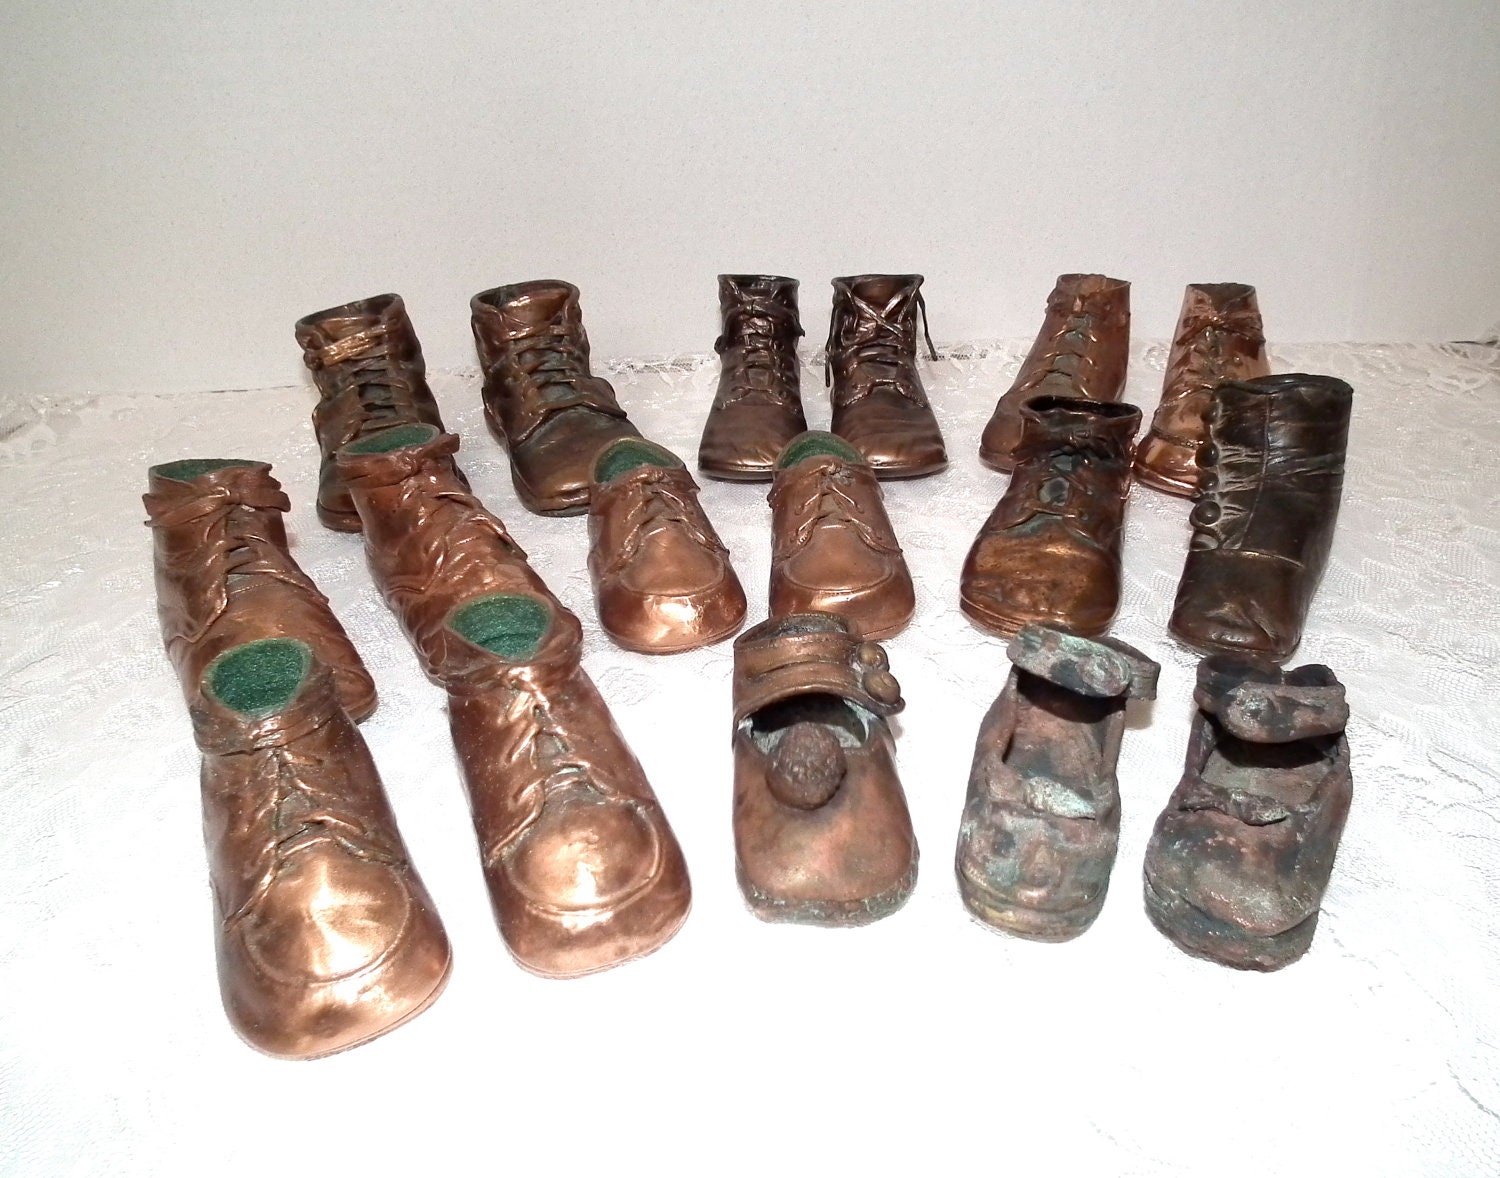
I love to repurpose vintage items. By that I mean to use them for a purpose for which they were not originally intended. A lot of times I buy vintage items without knowing what I want to do with them and sometimes I buy with an idea in mind and never get around to using them. Right now, I have a lot of those copper or bronzed baby shoes in my Etsy shop.


There are a total of seventeen shoes, seven pairs and three singles. Some of the shoes are very old - maybe even victorian. I originally bought these because I was going to use them as little planters on my deck and porch. I never got around to doing that because for one thing, I'm not sure it would be good for them to be out in the weather. So, that is why they're now in my shop.

I can see lots of other uses for them. I think they would be adorable as part of a baby mobile. Use some of the shoes and some wooden blocks spelling BABY or the baby's name - or add some vintage toys to the mobile such as rattles. I also think they would be adorable to make centerpieces for a baby shower. They could have flowers or rattles or candy or whatever else matches the theme and be given away as prizes for games. Of course, I still think about the planter idea for an indoor area.

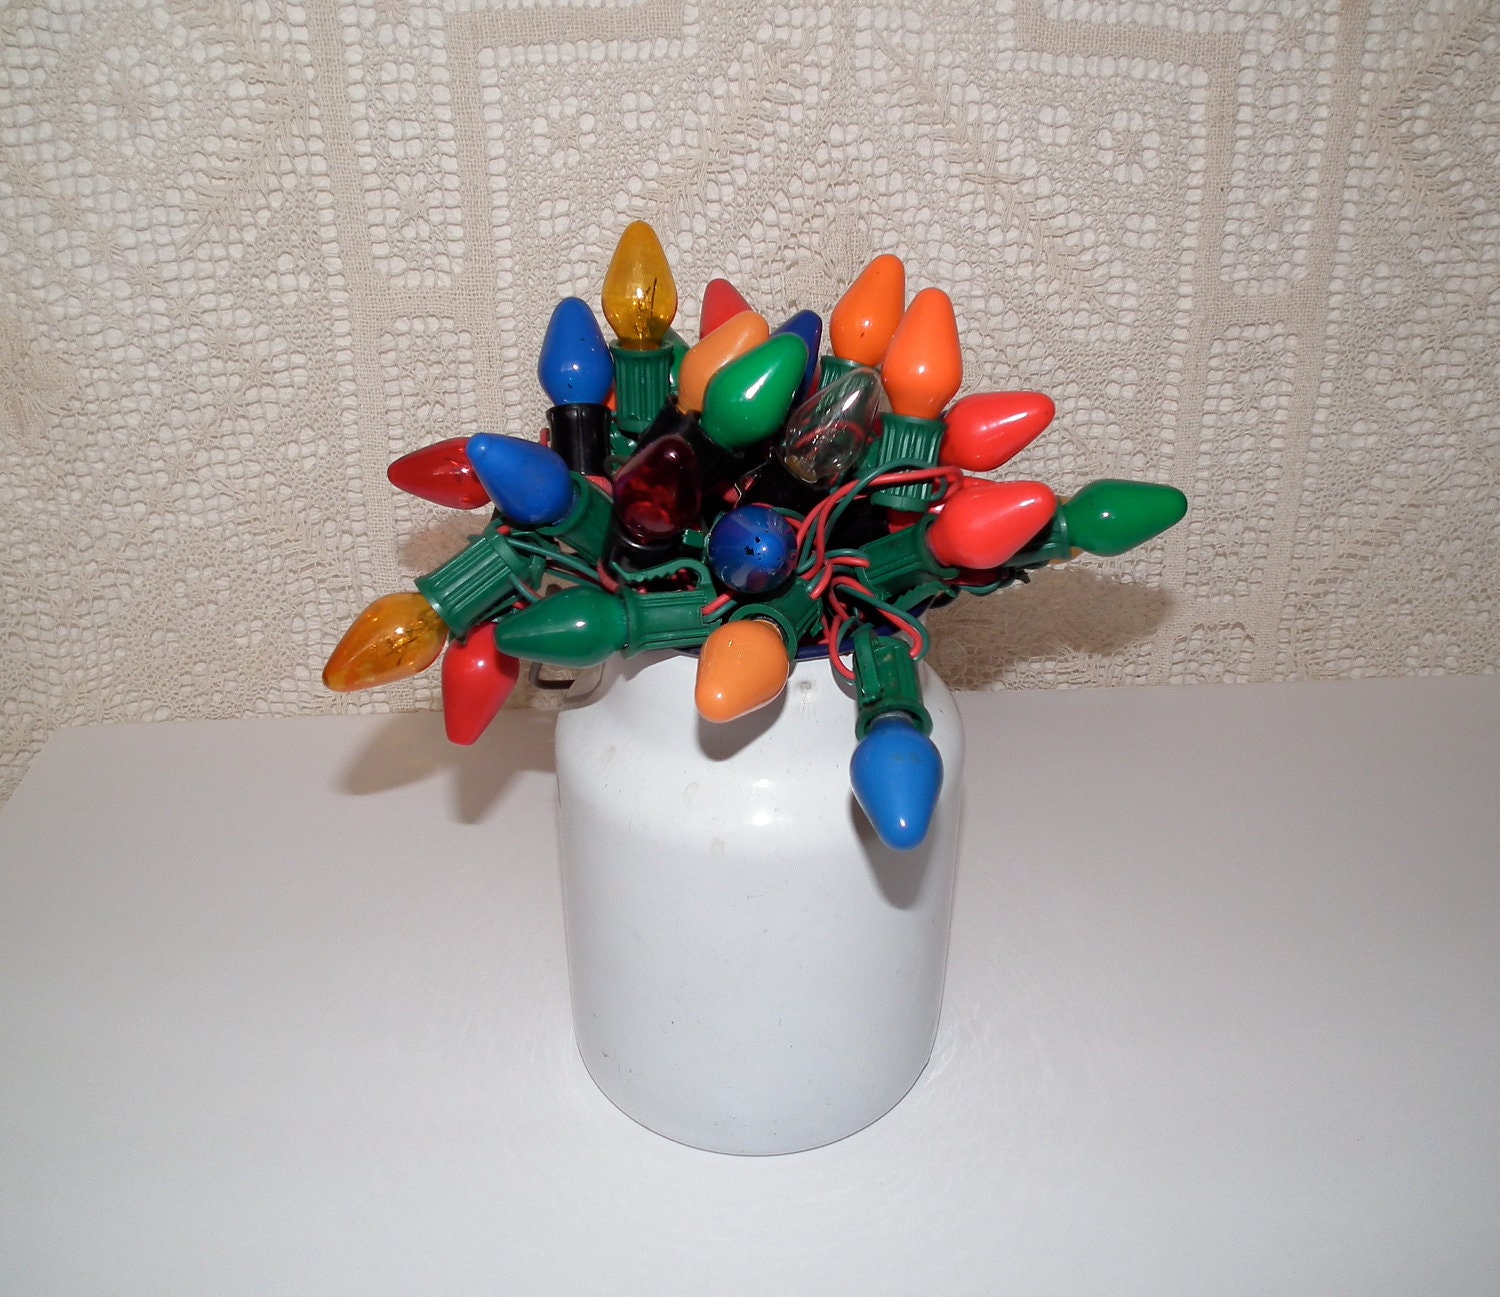
I've posted this before, but an idea I borrowed from someone at a flea market is to use a vintage string of Christmas lights as a bouquet in an enamelware container. It's a great way to repurpose those lights since I personally think they're a fire hazard and a way to display some of your vintage items at Christmas. I have added one of those "bouquets" to my Etsy store in case you're looking for one.

Read more ...

Tuesday, July 24, 2012

Weekly roundup of Etsy items

I'm going to begin a weekly roundup of new items I list in my Etsy shop.

The first listing is for two red and gold florentine trays. They are different sizes and different styles. I think they would look so lovely hanging on the wall together. The smaller tray measures 10" x 12 1/2". It has a paper label on the back which reads "Art. V R / l Dorato a mano con foglia di Similoro Florence Made in Italy." The larger tray measures 12 5/8" x 16 1/4". It has a Florence Made in Italy embossed on the back as well as a paper label which says Hand Made in Italy.


The second listing is for a carnival glass beaded bag. The beading is all intact and it is lovely. The pictures really don't do it justice. The binding is coming loose on the inside and really needs to be redone at some point. The bag has a metal chain at the top which is pulled to close the bag.


The third listing is for a very unusual doorstop. I love vintage doorstops and am always on the lookout for them. I see baskets with flowers quite often but I've never seen one like this - a vintage boot with two cats. It is marked on the back with a number - hard to read but I believe it is 8020 with a letter in front of that - and a copyright symbol with Emig Products Inc. The doorstop is 9 1/2" high, 6" wide and 2 3/4" wide at the base. I believe that Robert Emig was a distributor of cast iron products in the 30's and 40's.


The fourth listing is for two Wilton cast iron trivets. They are painted in the Pennsylvania Dutch style and are both marked Wilton on the back. The heart shaped trivet is 5 3/8" long and 2 7/8" wide. The round trivet is 3" wide and 5 1/2" long.


You can find additional pictures of these items in my Etsy shop: http://www.etsy.com/shop/TouchingThePast. I am happy to provide additional pictures or information.
Read more ...

Sunday, April 22, 2012

DIY Brooch wedding cake topper

DIY brooch wedding cake topper made with vintage brooches

My niece wanted a brooch cake topper to match the bouquet I had made. Her cake is three layers - the top and bottom are square and the middle layer is round. So, I decided that I needed to make a round topper so the cake wouldn't look off balance.

I started with a 4" white styrofoam ball which I cut in half. This would be the base to which I would attach the brooches and earrings. The base of the topper was a 5" styrofoam round flat piece.


Because I wanted to maintain the integrity of the jewelry, I wanted to attach them to the base with floral wire. What I decided to do was to scoop out the inside of the half styrofoam piece (as if it were a watermelon). That way, I would be able to run the wires through the styrofoam and yet have them hidden from sight.

The next step was to attach lace to both styrofoam pieces. Some of it would be showing through the jewelry and the lace would help cover it. I glued the lace to the bottom of the pieces.


To wire the pieces of jewelry, I used white floral wire that I purchased from Walmart - each piece is 18" long. For the earrings, I wrapped a piece of the wire around one end once. For the brooches, I used one piece and wrapped it around each end. Then, I threaded both ends of the wire through the styrofoam where I wanted to place the piece of jewelry.


I started at the bottom of the base and worked up. That allowed me to cover up the white wire that was showing on some of the pieces. As I added each piece, I would twist the two wires together in the scooped out base and cut the wires.


I reinforced the wires on the scooped out base with glue and then attached the jewelry base to the flat base with glue. I finished it off with a red velvet ribbon. I'm hoping we can add the red velvet ribbon around the bottom of the cake layers.

Read more ...

Saturday, April 14, 2012

Doily wedding chair backs for bride and groom

DIY wedding chair backs for bride and groom

If you've been reading my wedding entries, you will have seen that I am using doilies throughout the decorations. One weekend I went to the flea market and bought two large plastic bags filled with doilies. In the bags were several (what I think are) antimacassars - doilies to drape over the backs of chairs. As I looked at them, I had the idea to use them as backs for the bride and groom's chairs at the wedding. They were both white so in keeping with the colors my niece was using - red and yellow - I dyed them yellow. Then I bought some iron-on letters in black to put "MR" and "MRS" on them. Finally, I purchased some red velvet ribbon to be used to tie the doilies to the chairs. I think they turned out pretty well. Of course, they will look better on the actual chairs. They're wide enough to fit most chairs and the ribbon can be adjusted along the length of the doilies and is easily threaded through any of the holes.

Wedding chair backs for bride and groom made from doilies

Read more ...

Sunday, March 11, 2012

Painted candles


One of the projects for the wedding is to paint candles to use in the centerpieces for the tables. Because of the vintage theme, I wanted to have candles with a lace pattern. I couldn't find any to buy, so I came up with the idea of using paper doilies as a pattern to "stencil" the candles. I have lots of packages of paper doilies so that wasn't a problem. My materials for this project include: the candles (I'm using ivory), stencil brushes, paper doilies, alcohol, Alizarin Crimson Americana acrylic paint, and Shimmer Mod Podge.


My first step was to wipe the candle with alcohol. This removes the oils on the candle and allows the paint to adhere better.

Then I wrapped the doily around the candle and taped it on the edges so it wouldn't slip as I was stenciling.


Then I started stenciling the candle with the paint until it was covered. I didn't worry about getting even coverage because I actually like an uneven look.


I immediately - carefully - removed the paint-covered doily from the candle. I didn't want to leave it on because I was afraid it would smear or dry to the candle and would be hard to remove. The doily I used was not large enough to go around the entire candle so after the paint had dried, I cut a doily in half and taped it on the area that hadn't been painted and then stenciled it. Although it doesn't match up perfectly, it doesn't look bad.


I also have some heart-shaped doilies, so I decided to do a doily heart on some of the candles. I'm thinking about adding a monogram to the inside of the couple's last name.


My last step in the process is to apply Shimmer Mod Podge over the paint once it has dried. Not only does this give the candle a lovely gold shimmer, but it protects the paint finish.


I am beginning to see all my projects coming together for the wedding.

Read more ...