"Embracing the Present" is the name of my new Etsy shop. I wanted something that would tie in with my vintage shop "Touching the Past." My new shop will feature items I make, such as button bracelets and brooch bouquets. I had forgotten how hard it is to fill a shop, and I am slowly adding items.
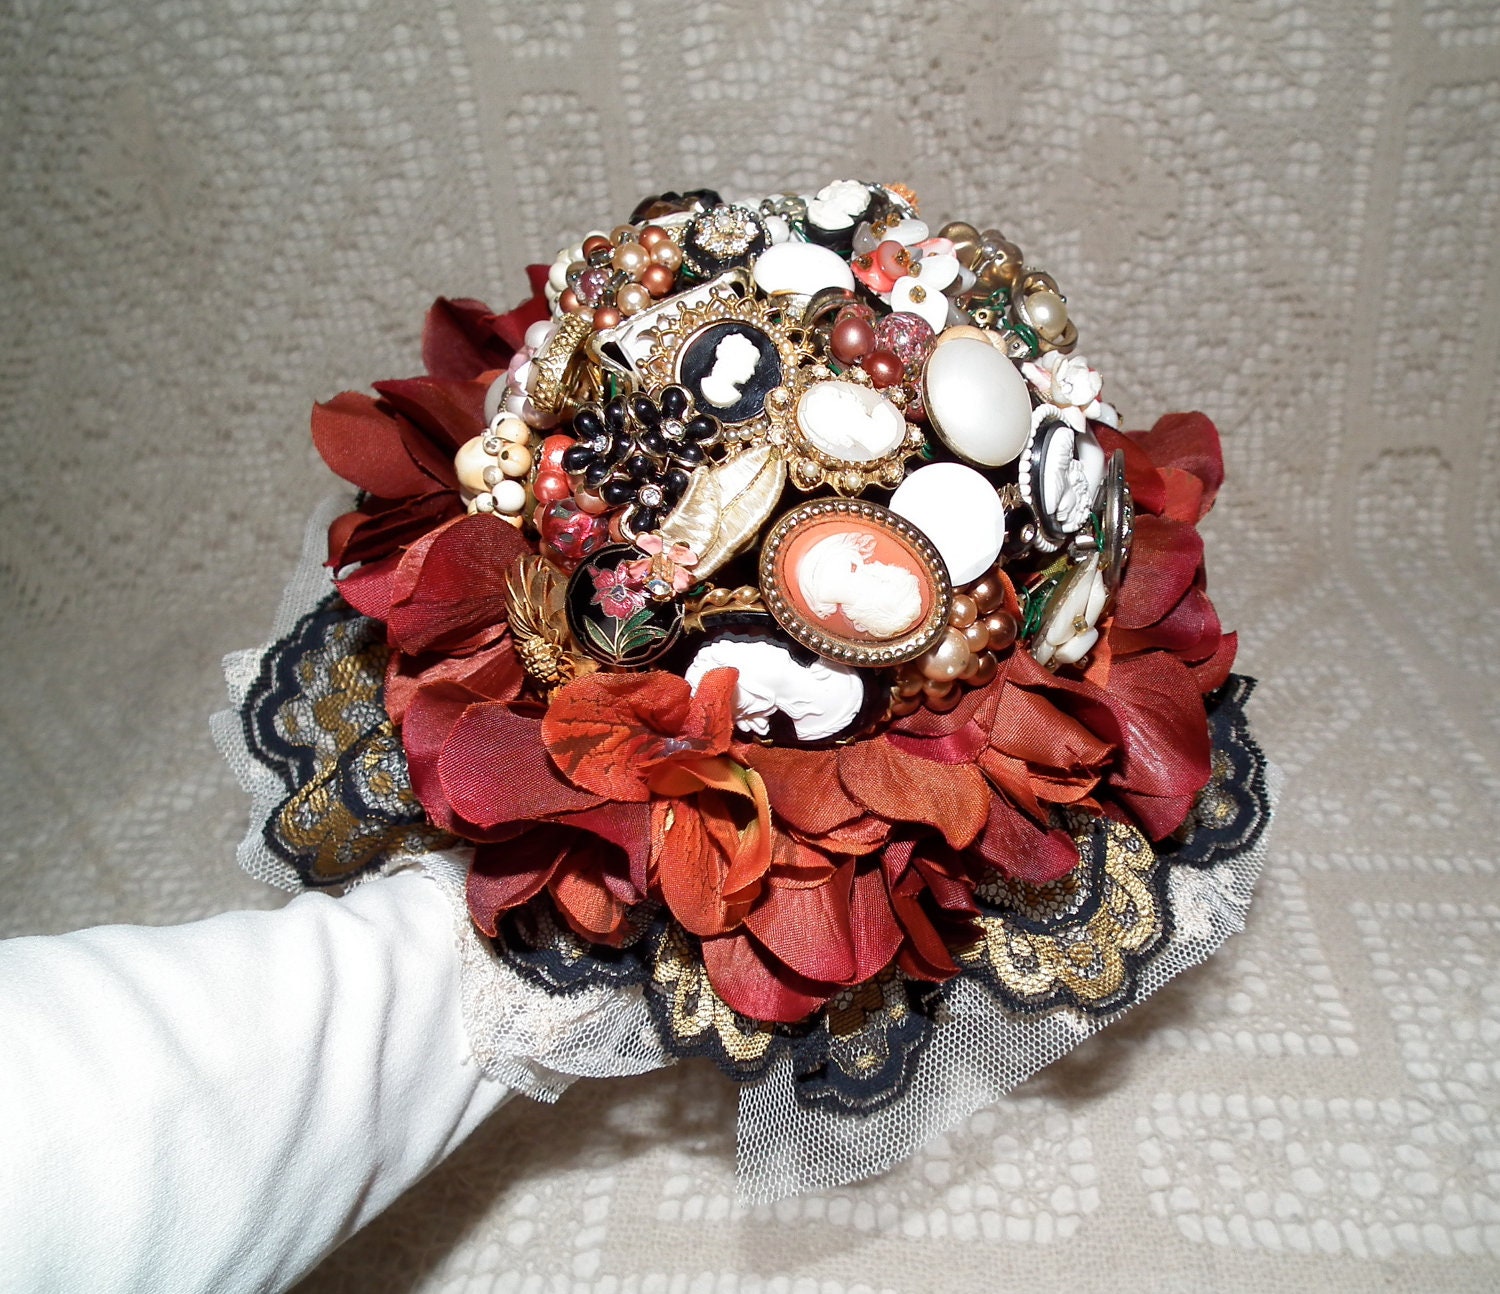
I wanted to show some of what I have so far in the shop. I have several wedding brooch bouquets available and am going to add more. These will be ready-made as I don't have the time right now to do custom requests. I have a cameo brooch bouquet for the bride who wants a victorian wedding.
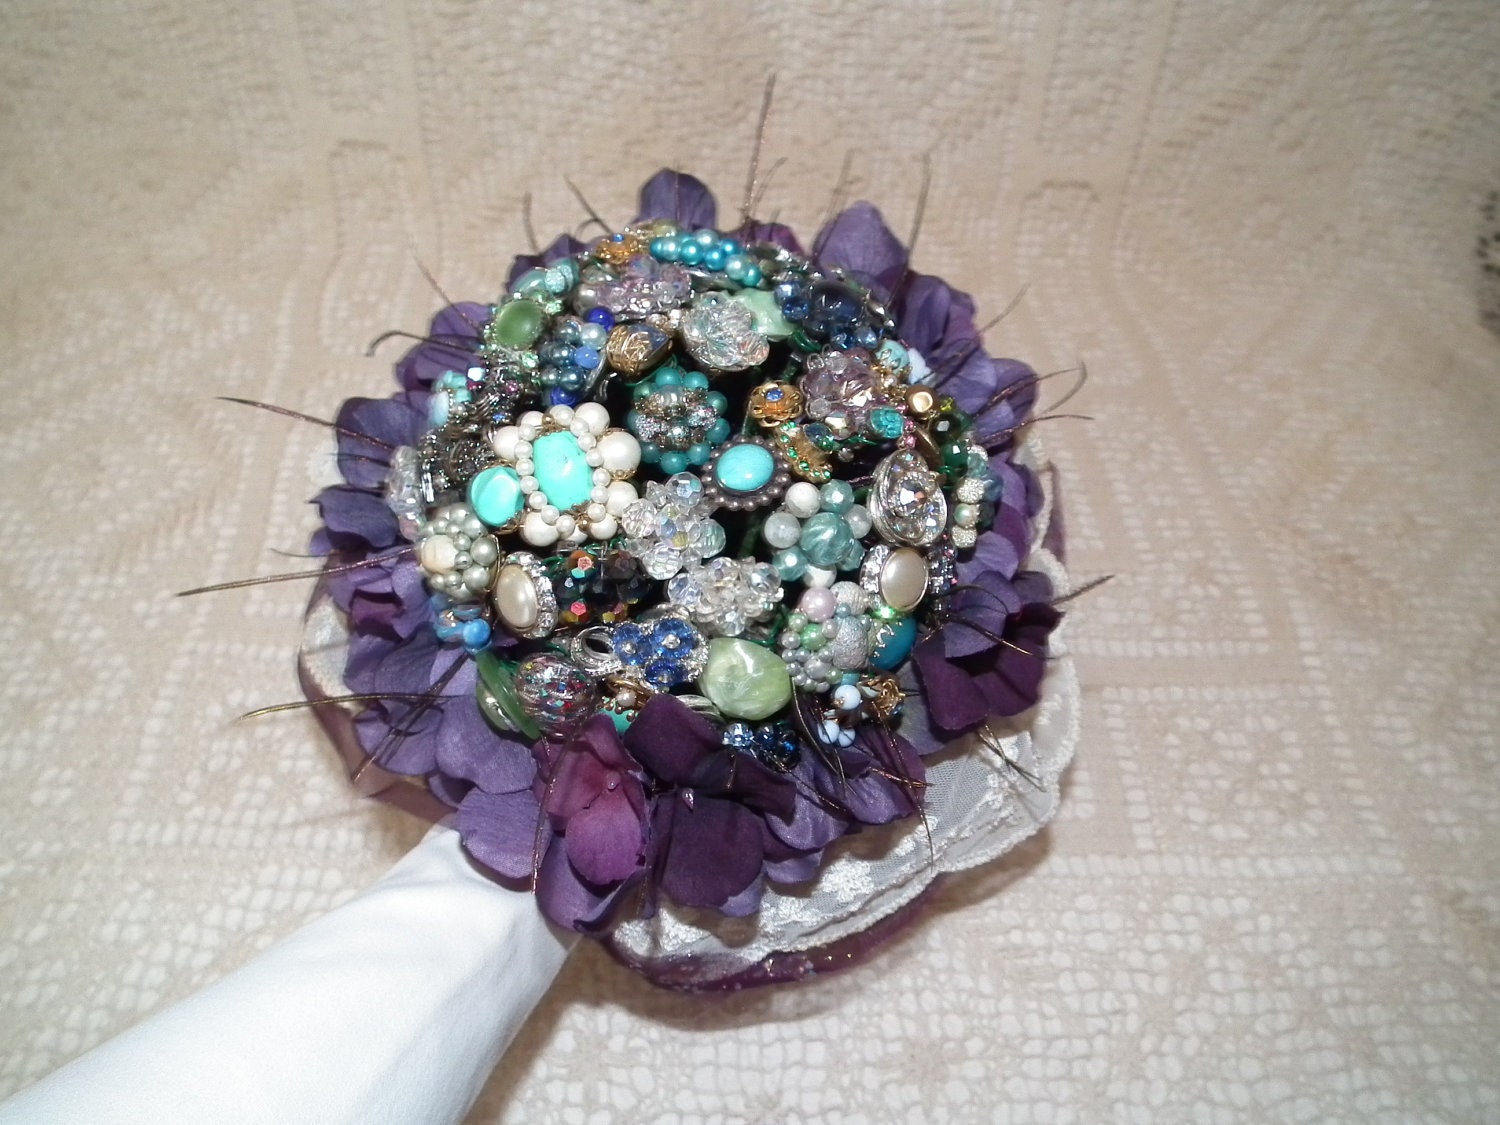
There is a peacock brooch bouquet. This seems to be a really popular theme in weddings these days.
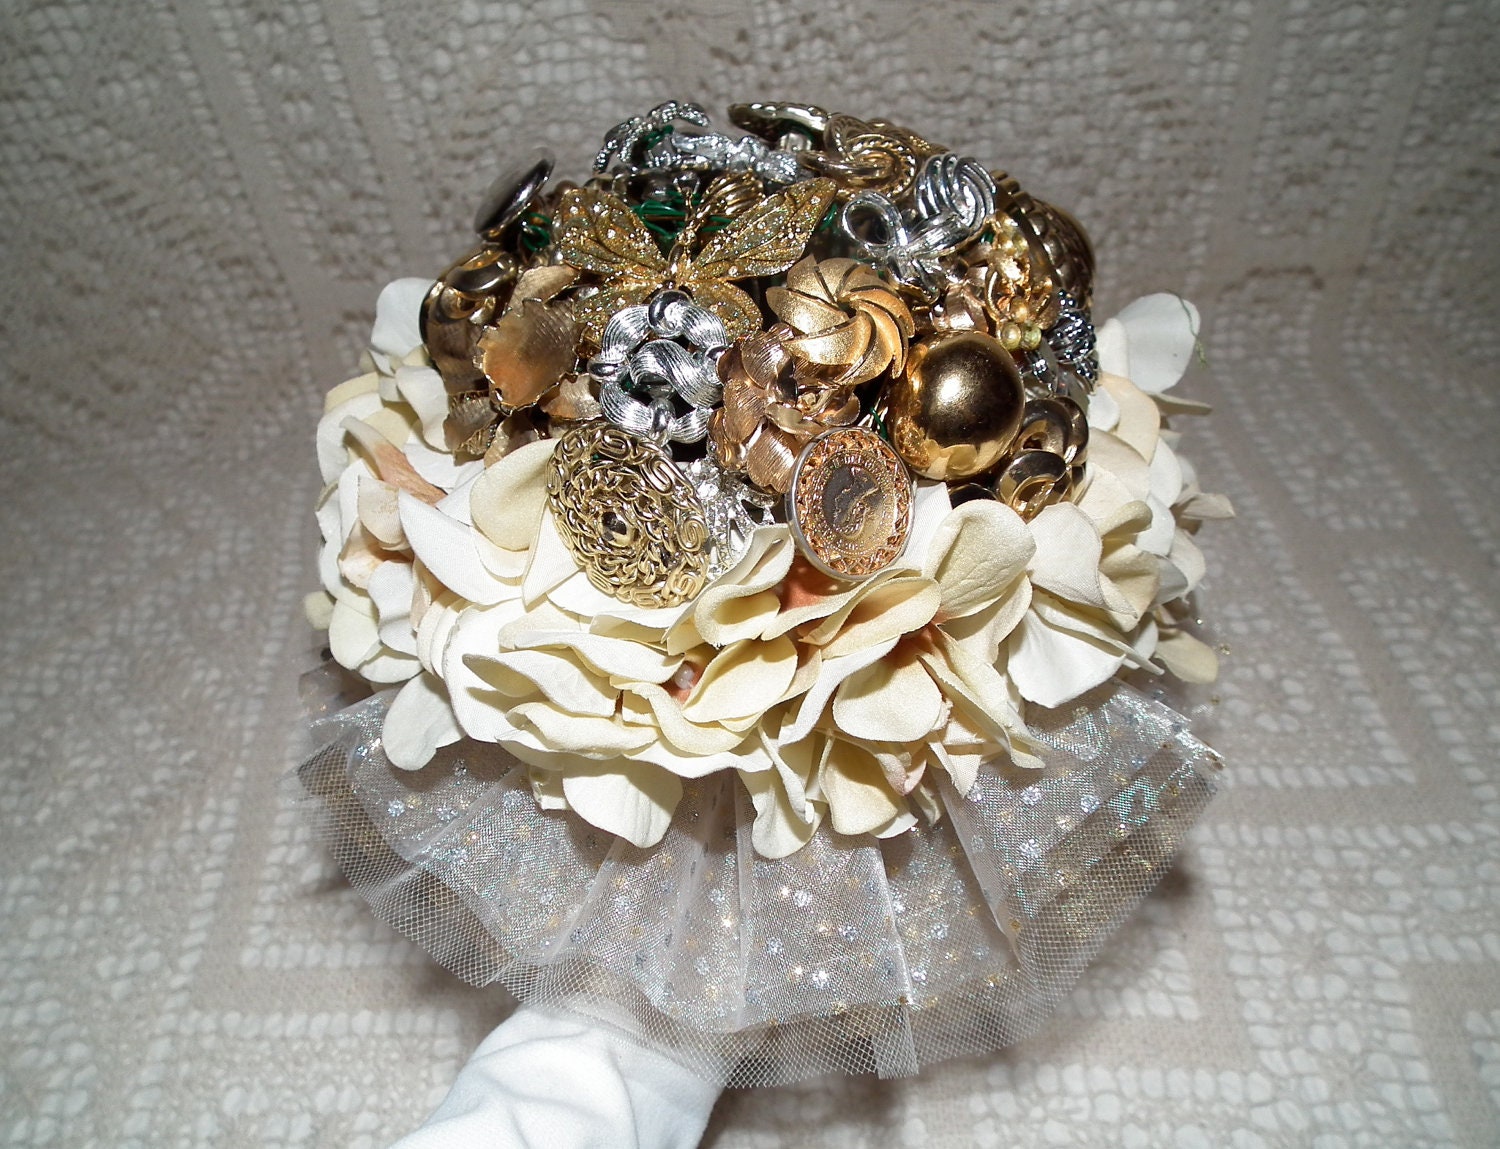
And my most recent brooch bouquet is in metallic colors. It has gold and silver jewelry and there is a touch of copper in the middle of the hydrangeas at the base. Martha Stewart has some wonderful ideas of how to use copper, gold and silver as the colors for a wedding here.
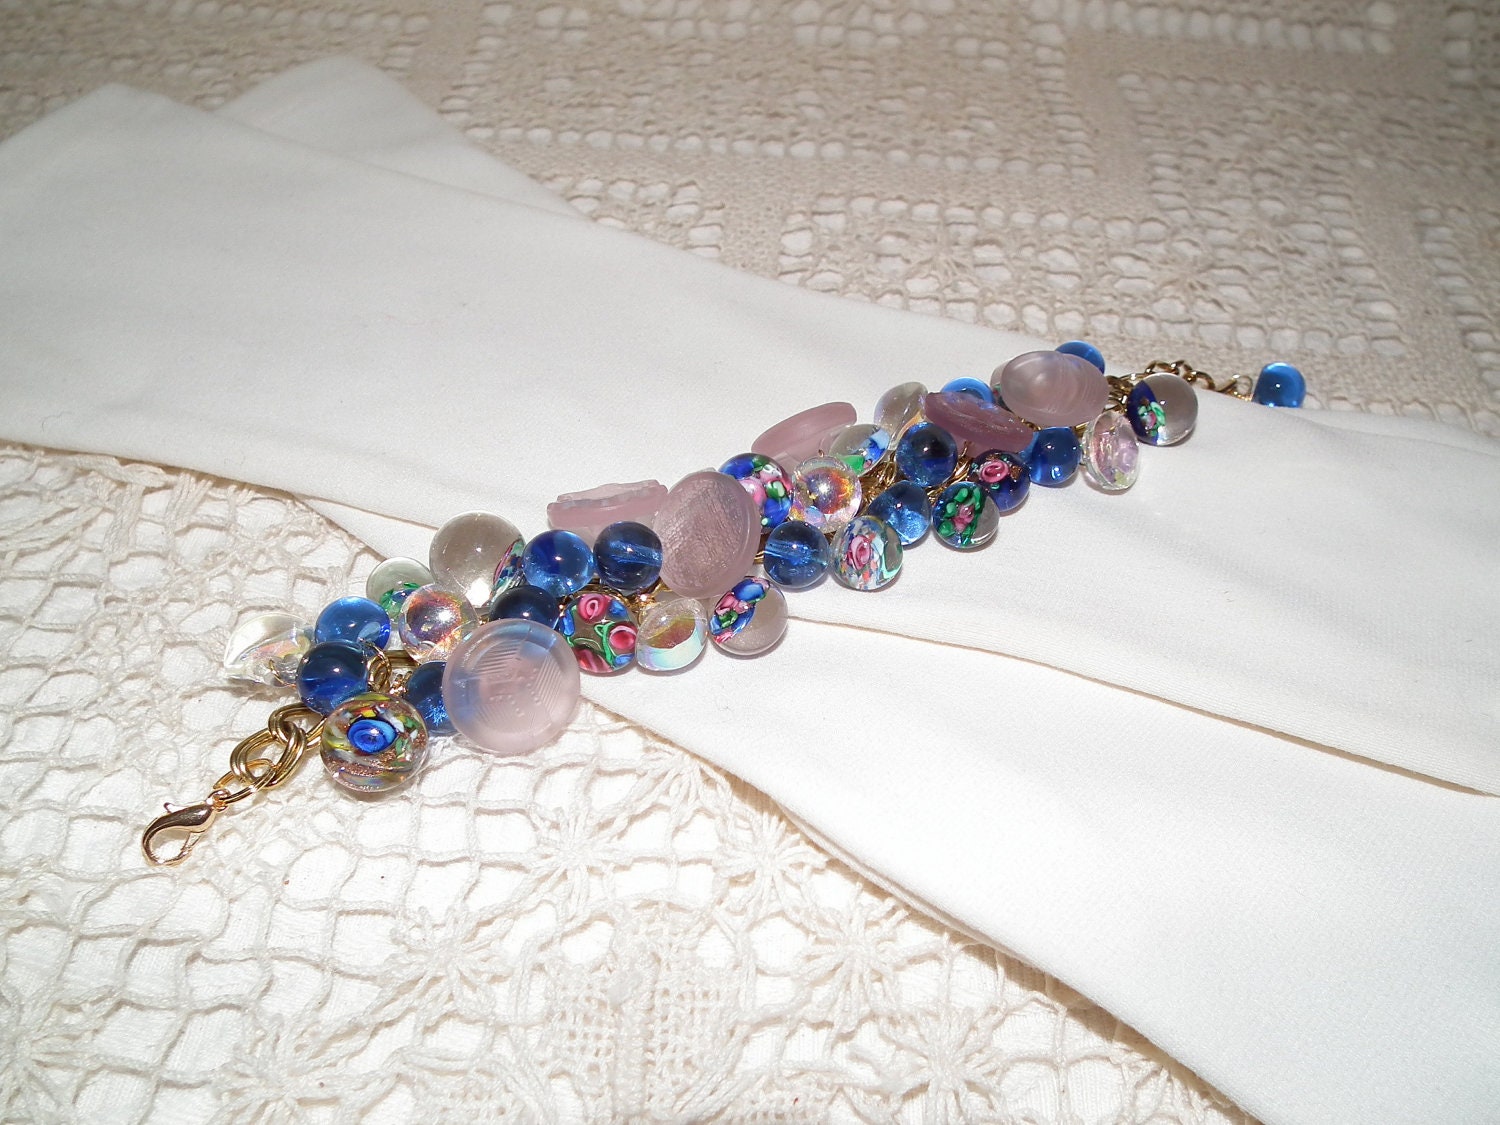
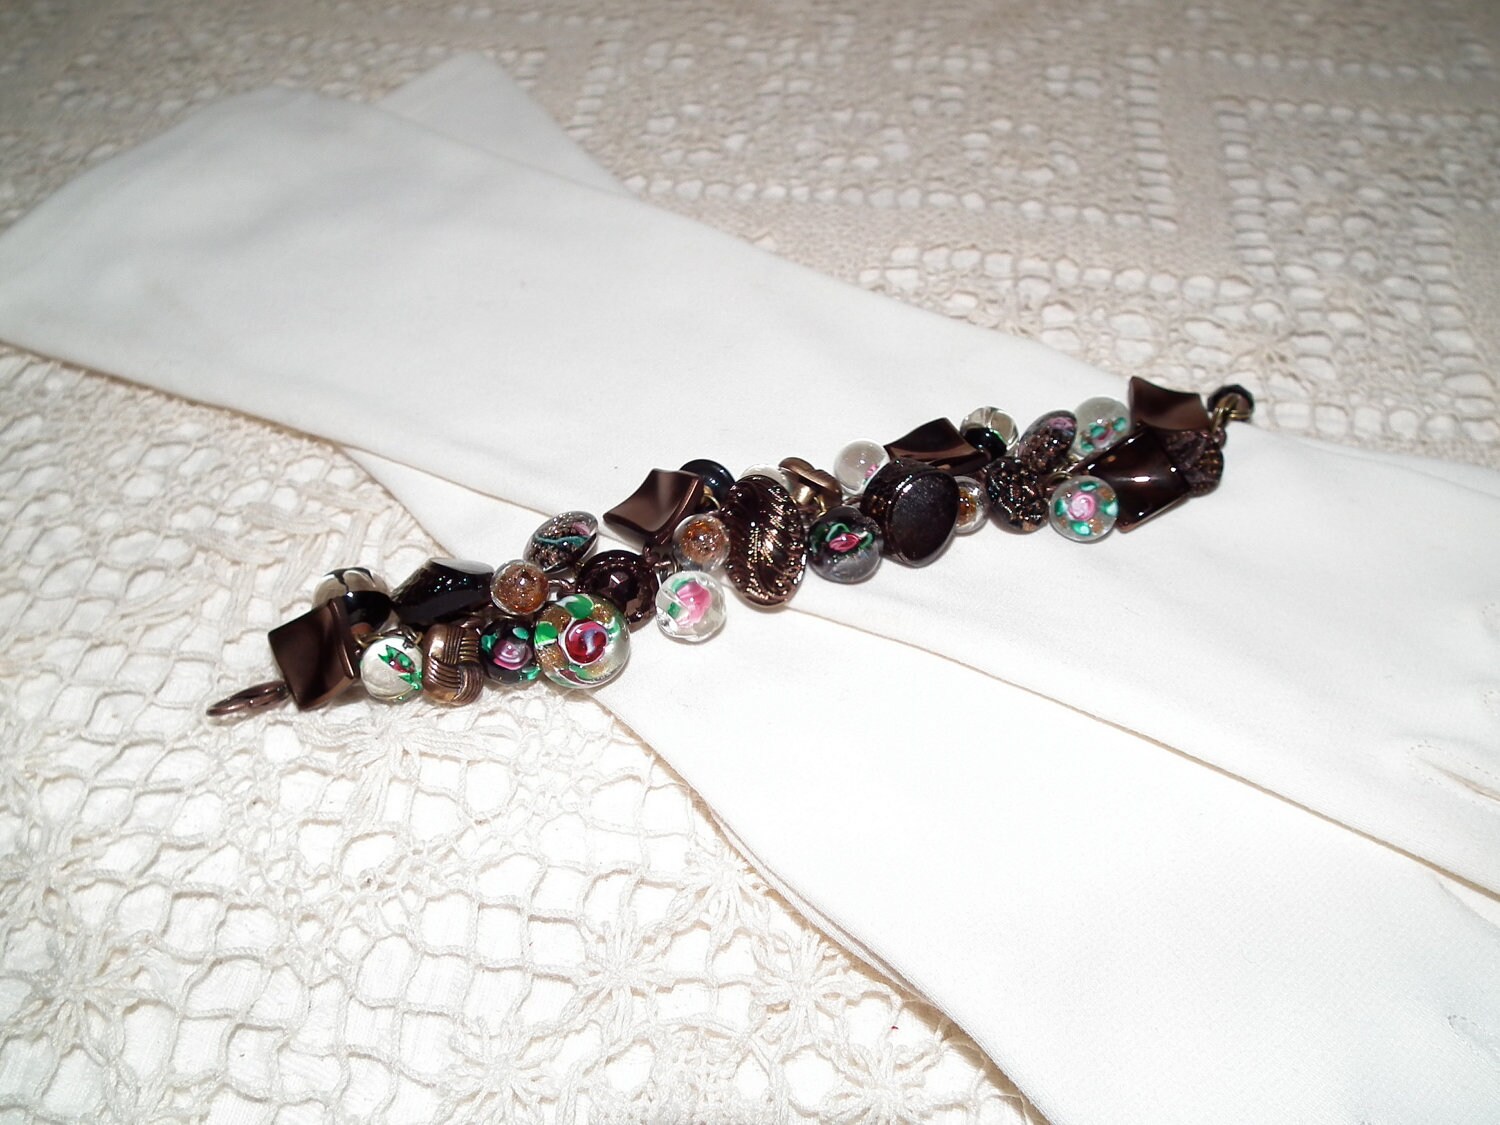
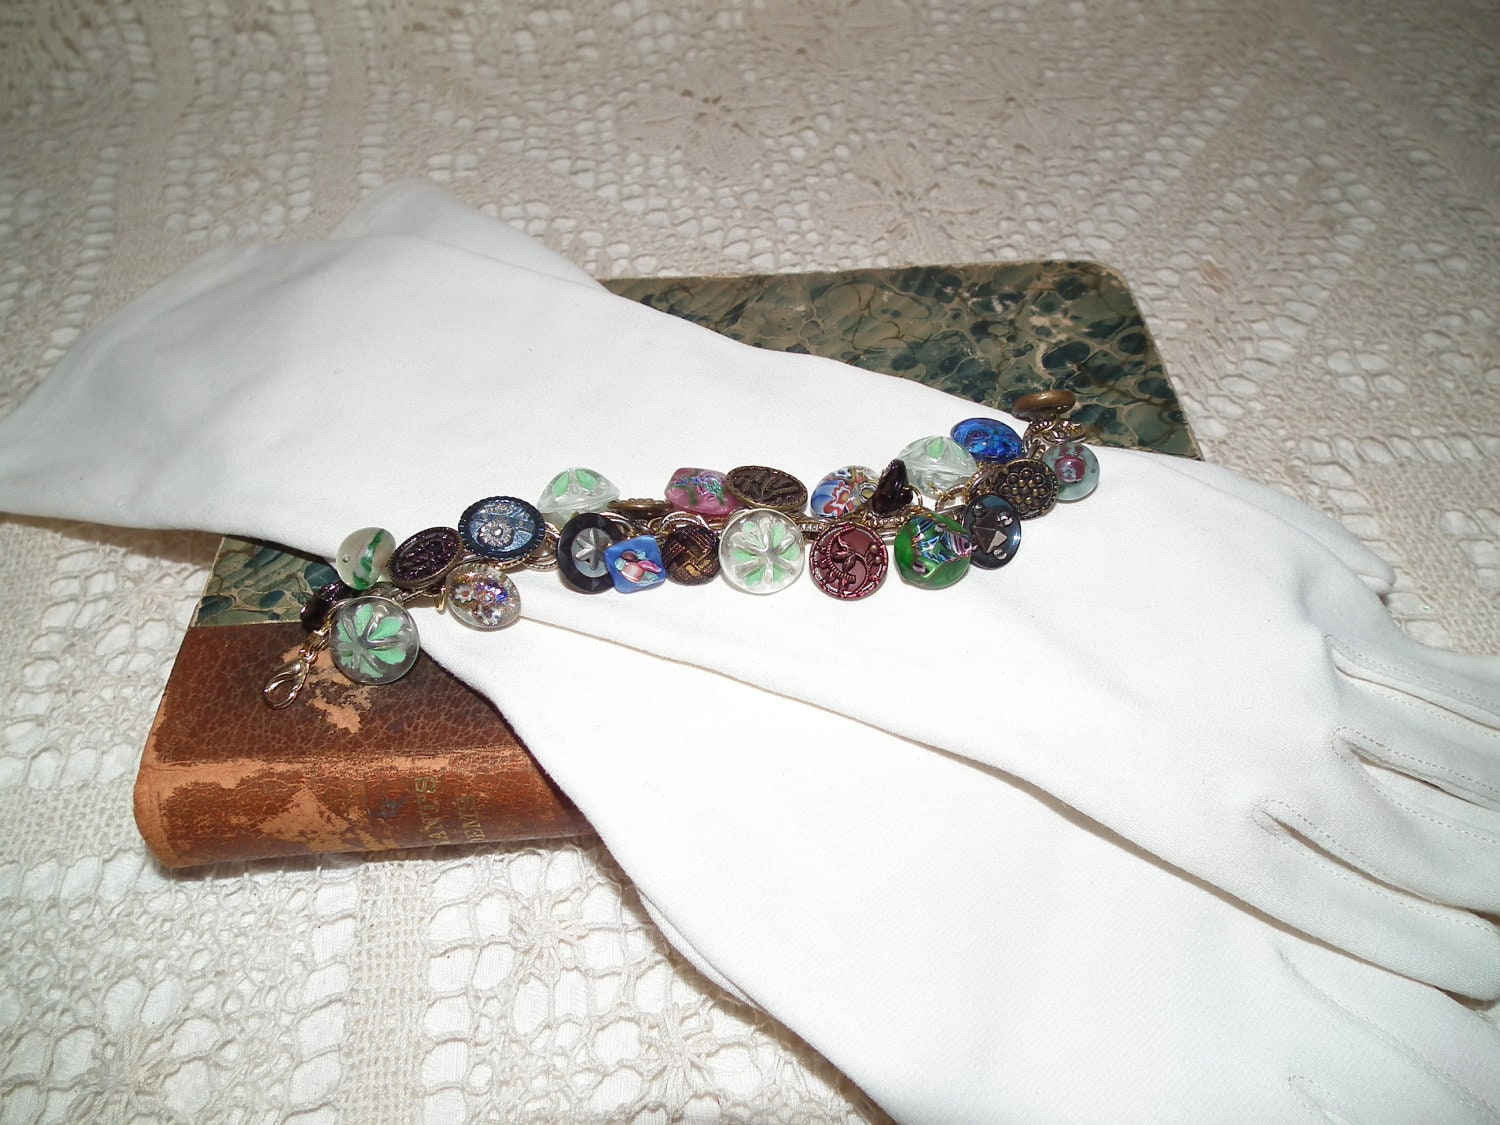
I've also added a number of button bracelets made from vintage buttons. Right now, I have several which were made to highlight some glass paperweight buttons I have. I love all vintage buttons but paperweight buttons have to be my favorites. They look just like miniature paperweights and are amazing in detail and artistry. If you're interested in finding out more about them and their history, this site is a good resource. Most of the paperweight buttons I have used have a flower in middle, usually a pink one. These are the bracelets I've made from them:
I hope you'll stop by to visit and to see additions to my new shop.
Read more ...
I wanted to show some of what I have so far in the shop. I have several wedding brooch bouquets available and am going to add more. These will be ready-made as I don't have the time right now to do custom requests. I have a cameo brooch bouquet for the bride who wants a victorian wedding.
There is a peacock brooch bouquet. This seems to be a really popular theme in weddings these days.
And my most recent brooch bouquet is in metallic colors. It has gold and silver jewelry and there is a touch of copper in the middle of the hydrangeas at the base. Martha Stewart has some wonderful ideas of how to use copper, gold and silver as the colors for a wedding here.
I've also added a number of button bracelets made from vintage buttons. Right now, I have several which were made to highlight some glass paperweight buttons I have. I love all vintage buttons but paperweight buttons have to be my favorites. They look just like miniature paperweights and are amazing in detail and artistry. If you're interested in finding out more about them and their history, this site is a good resource. Most of the paperweight buttons I have used have a flower in middle, usually a pink one. These are the bracelets I've made from them:
I hope you'll stop by to visit and to see additions to my new shop.



