After the workshop, however, I was hooked. All the pieces looked really good and the process itself was pretty easy. What I liked most is that we didn't have to sand our pieces prior to applying the paint.
So, I bought a $10 plant stand from a consignment store to distress at home. Something I had noticed at the workshop was that a lighter color looked better with dark wood showing through. Since my plant stand was a dark oak, I decided to get a light blue paint. I bought a sample jar of Behr paint from Home Depot called Hazy Skies. We had used Valspar from Lowe's at the workshop.

In addition to the paint, what I needed for the project was:
Plaster of paris
Bucket
Paint brush
Water
Sandpaper
Soap
Wax

To make the chalk paint, I poured all of the paint (7.5 fl oz) into the bucket. I then added 1 1/2 to 2 tablespoons of plaster of paris to the paint and stirred it until there were no lumps.

Next, I added 2 tablespoons of water and stirred again. I really recommend adding one tablespoon at a time just to make sure the paint doesn't get too thin.

Before I started painting my plant stand, I used soap on the edges where I wanted the paint to come off when I started distressing the piece. This is a great tip that we learned at the workshop. I used Ivory soap because it's what I had but I recommend using an unscented soap for this. As you can see, I have rubbed soap on all the edges of the piece.

I then painted the plant stand in its entirety, even painting over the soap. I actually gave the piece two coats of paint, because the first coat looked pretty light. I could have given it another coat if I had wanted it darker.

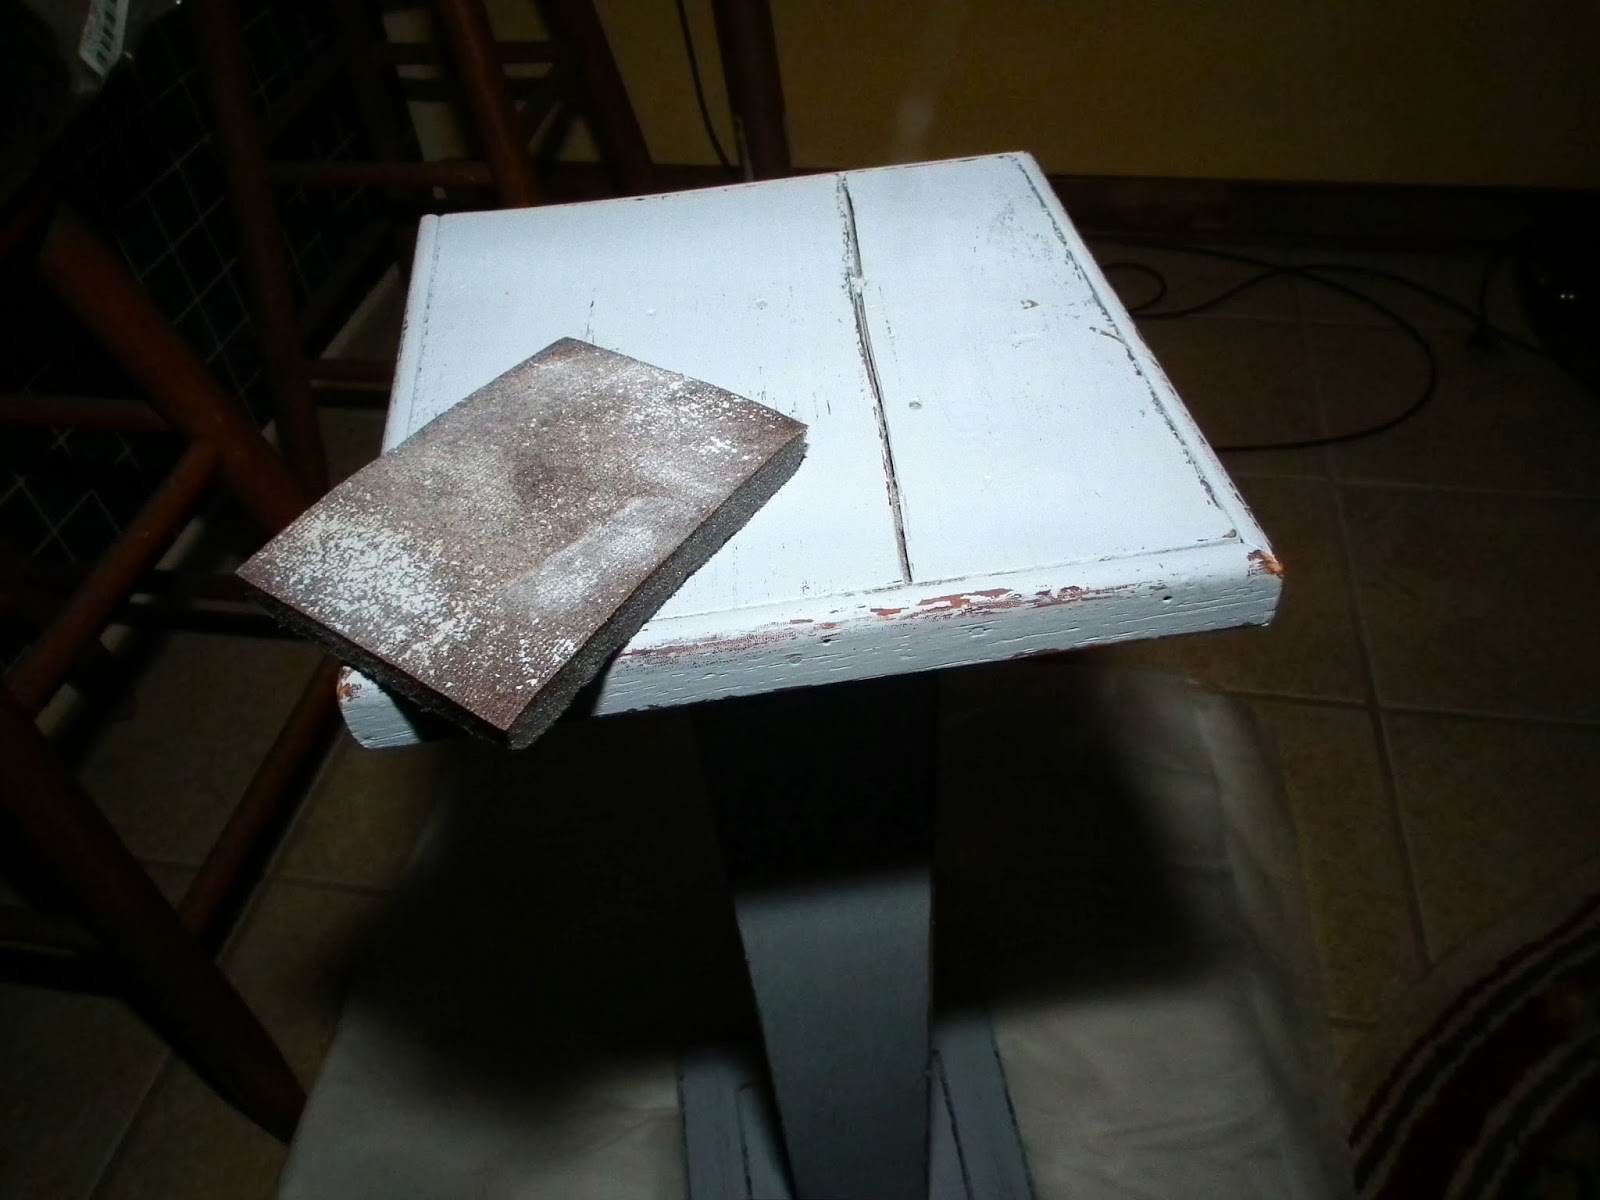
I let it dry overnight but at the workshop we let it dry for 30 to 40 minutes. Once it was dry, I started sanding it wherever I wanted the distressing to be. On the edges where I had applied the soap, the paint came right off without hardly any rubbing. But in other areas, I had to rub a lot harder to remove the paint.
The final step was to apply wax over the paint. I used some wax polish that I had, but you can use Briwax or Minwax. The purpose of the wax is to harden the paint.

I want to add a different top to the plant stand but for now, this is the result.


No comments:
Post a Comment